


Shane and the Art of Pashley Bicycle Maintenance
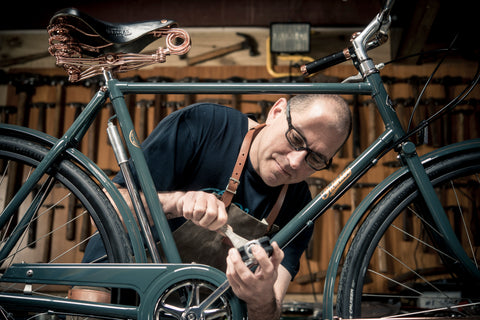
My apron and I are inseparable. I’m at peace with that, in a renaissance-blokey kind of way. It lends a certain svelteness to my physique. It also makes me ‘look the part’. Looking the part is important because, when it comes to Pashley bicycle maintenance, there’s really not that much to do.
A bit of routine care and maintenance is all that’s needed to ensure your Pashley is ready for action day after day, season after season, year after year. You don’t need an advanced mechanical mind either – just a few simple tools and a commitment to keeping your precision machine in top-notch order.
You can check out my full list of maintenance videos (and apron) on blackwellandsons.nz, where you’ll also find a maintenance booklet to download.
But here’s a quick look at the essentials:
PRE-RIDE CHECK
A pre-ride check is always a good idea. It means you get to place your Pashley on the driveway and show your feckless, screen-addicted neighbours that you’re an active, sustainably inclined trailblazer who’s going places in style. It also ensures a hassle-free ride.
- Check that the handlebars, wheels, pedals and saddle are secure.
- Check that you know how the gears and brakes operate.
- Check that your tyres are inflated correctly. If possible, use a gauge and inflate to the level printed on the side wall of your tyres.
- Check that the handlebar stem bolts are tight by holding the front wheel between your feet and attempting to turn the handlebars.
- Check wheel security, particularly the front wheel. Axle nuts may loosen over time and with use, so check that they are tight before every ride.

GEAR ADJUSTMENT
Now, if you’re like some of my mates, you probably giggled childishly at that subheading. But gear adjustment is a useful skill to have, as gear cables can stretch with use.
To check gear calibration on a Sturmey Archer 5-speed hub mechanism, set the gear shifter to 2nd gear and check the coloured markers on the chain side of the rear axle. The markers should line up precisely. If they don’t, rotate the adjusting barrel on the gear cable (where it attaches to the gear shifter on the handlebar) until the markers align.
On a Sturmey Archer 3-speed mechanism, select 2nd gear and turn the pedal crank forward to ensure the gear is engaged. Look carefully into the hole in the rear axle nut through which the gear cable is visible. There’s an indicator rod on the cable where it passes through the axle into the hub. In 2nd gear, the rod should sit flush with the end of the axle. If it doesn’t, adjust by loosening the cable- adjusting locknut then rotating the adjacent barrel located on the cable. Once you’re satisfied with the position of the indicator rod, retighten the locknut.
BRAKE ADJUSTMENT
Years of cycling have taught me that, generally, stopping is just as important as starting. Some people I know will stop to look at small dogs dressed in tartan. Personally, I’ll stop for a two-for-one pie deal, a sale on fishing gear, or an earthquake of M6.0 or larger. Not much else, until I reach my destination.
Brakes are just the thing for stopping. And, like gear cables, brake cables can sometimes stretch with use and create too much slack in the brake levers on the handlebar. To tighten, first loosen the locknut near where the brake cable enters the hub, then rotate the adjacent adjusting barrel to shorten the cable. Once you’re happy with the amount of movement in the brake lever, retighten the locknut.
And that’s about it, Pashley pedallers.
If you choose, you can add a touch of lubricant to your chain links, brake lever pivots, gear-shifting chains and 3-speed shifters (but not 5-speed shifters).
Keep your Pashley looking sharp using car shampoo and a soft cloth or brush (be sure to keep leather saddles and accessories dry) – and you’re ready for adventure!
Leave a comment